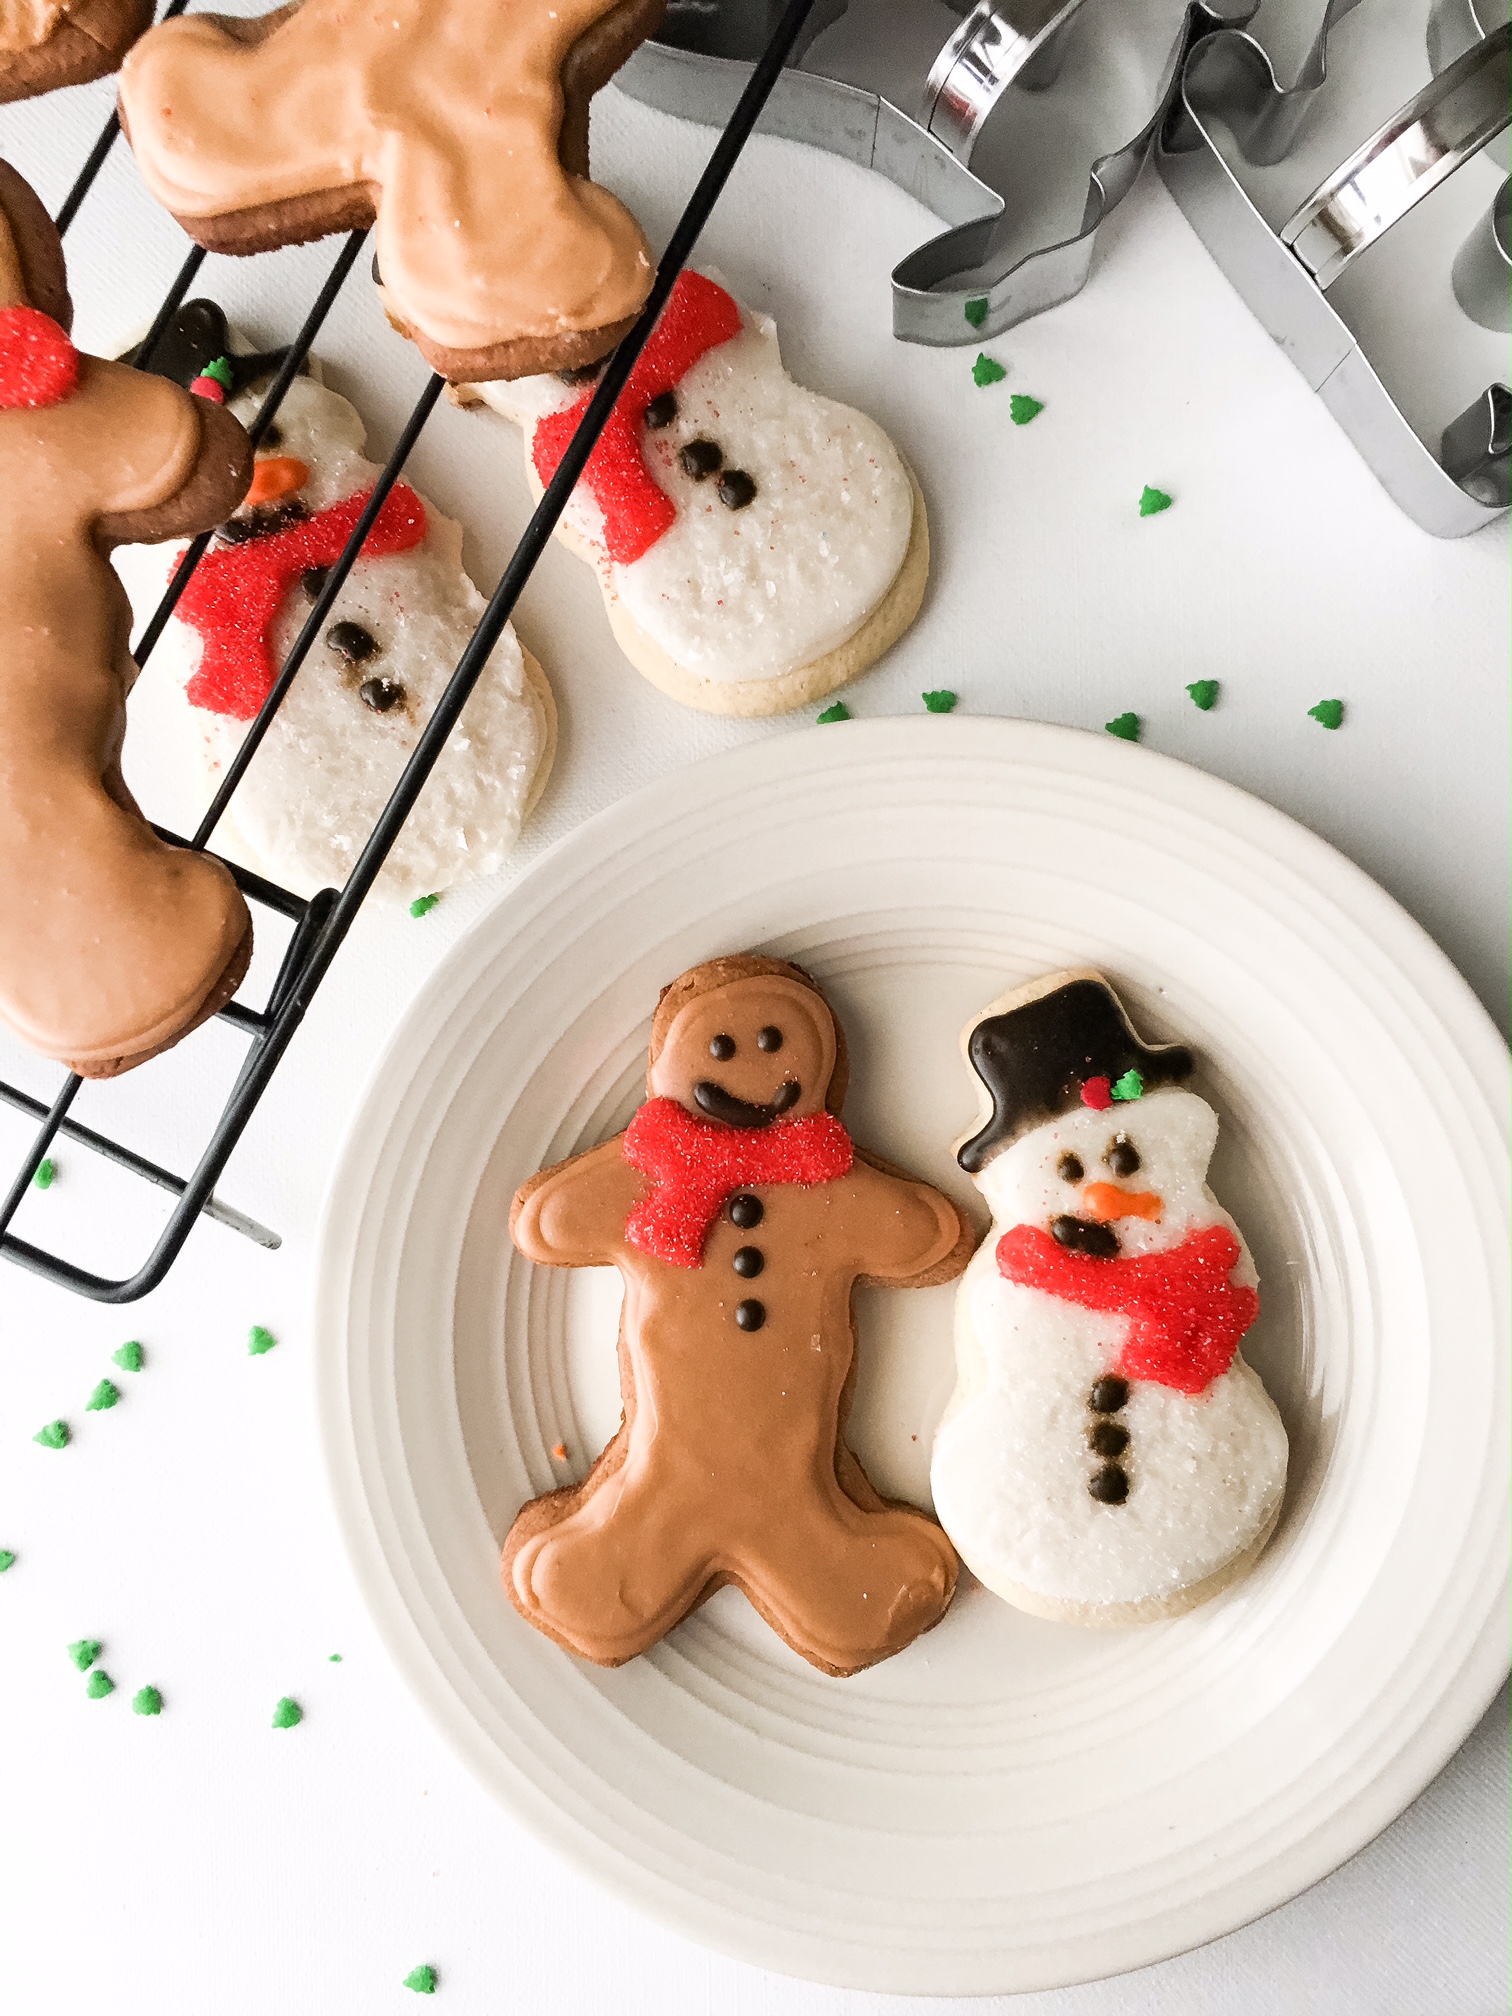
There is a little story about this royal icing. I decided I wanted to make little cut out cookies for all my friend’s children this Christmas. I started with my gingerbread recipe then my go to sugar cookies. I tried a chocolate chip shortbread and some chocolate shortbread.
Now the night before I knew I wanted to ice these I made sure I had all my cookies ready to go. All separated into little freezer bags waiting to be iced. I woke up extra early and drove over to Michael’s to pick up a few extra food colorings and a few more piping tips. Who knew the craft store would be poppin at 9am. I stood in line with my handful of items for 30 minutes then drove back home. After setting up my sugars and food coloring I realized something… I forgot to buy meringue powder.
There was no way I was getting back into that line so I started browsing the internet. There are a lot of ways to pasteurize your own eggs so I made a very basic icing recipe, but I heated the eggs over a pot of boiling water to help kill off any bacteria.
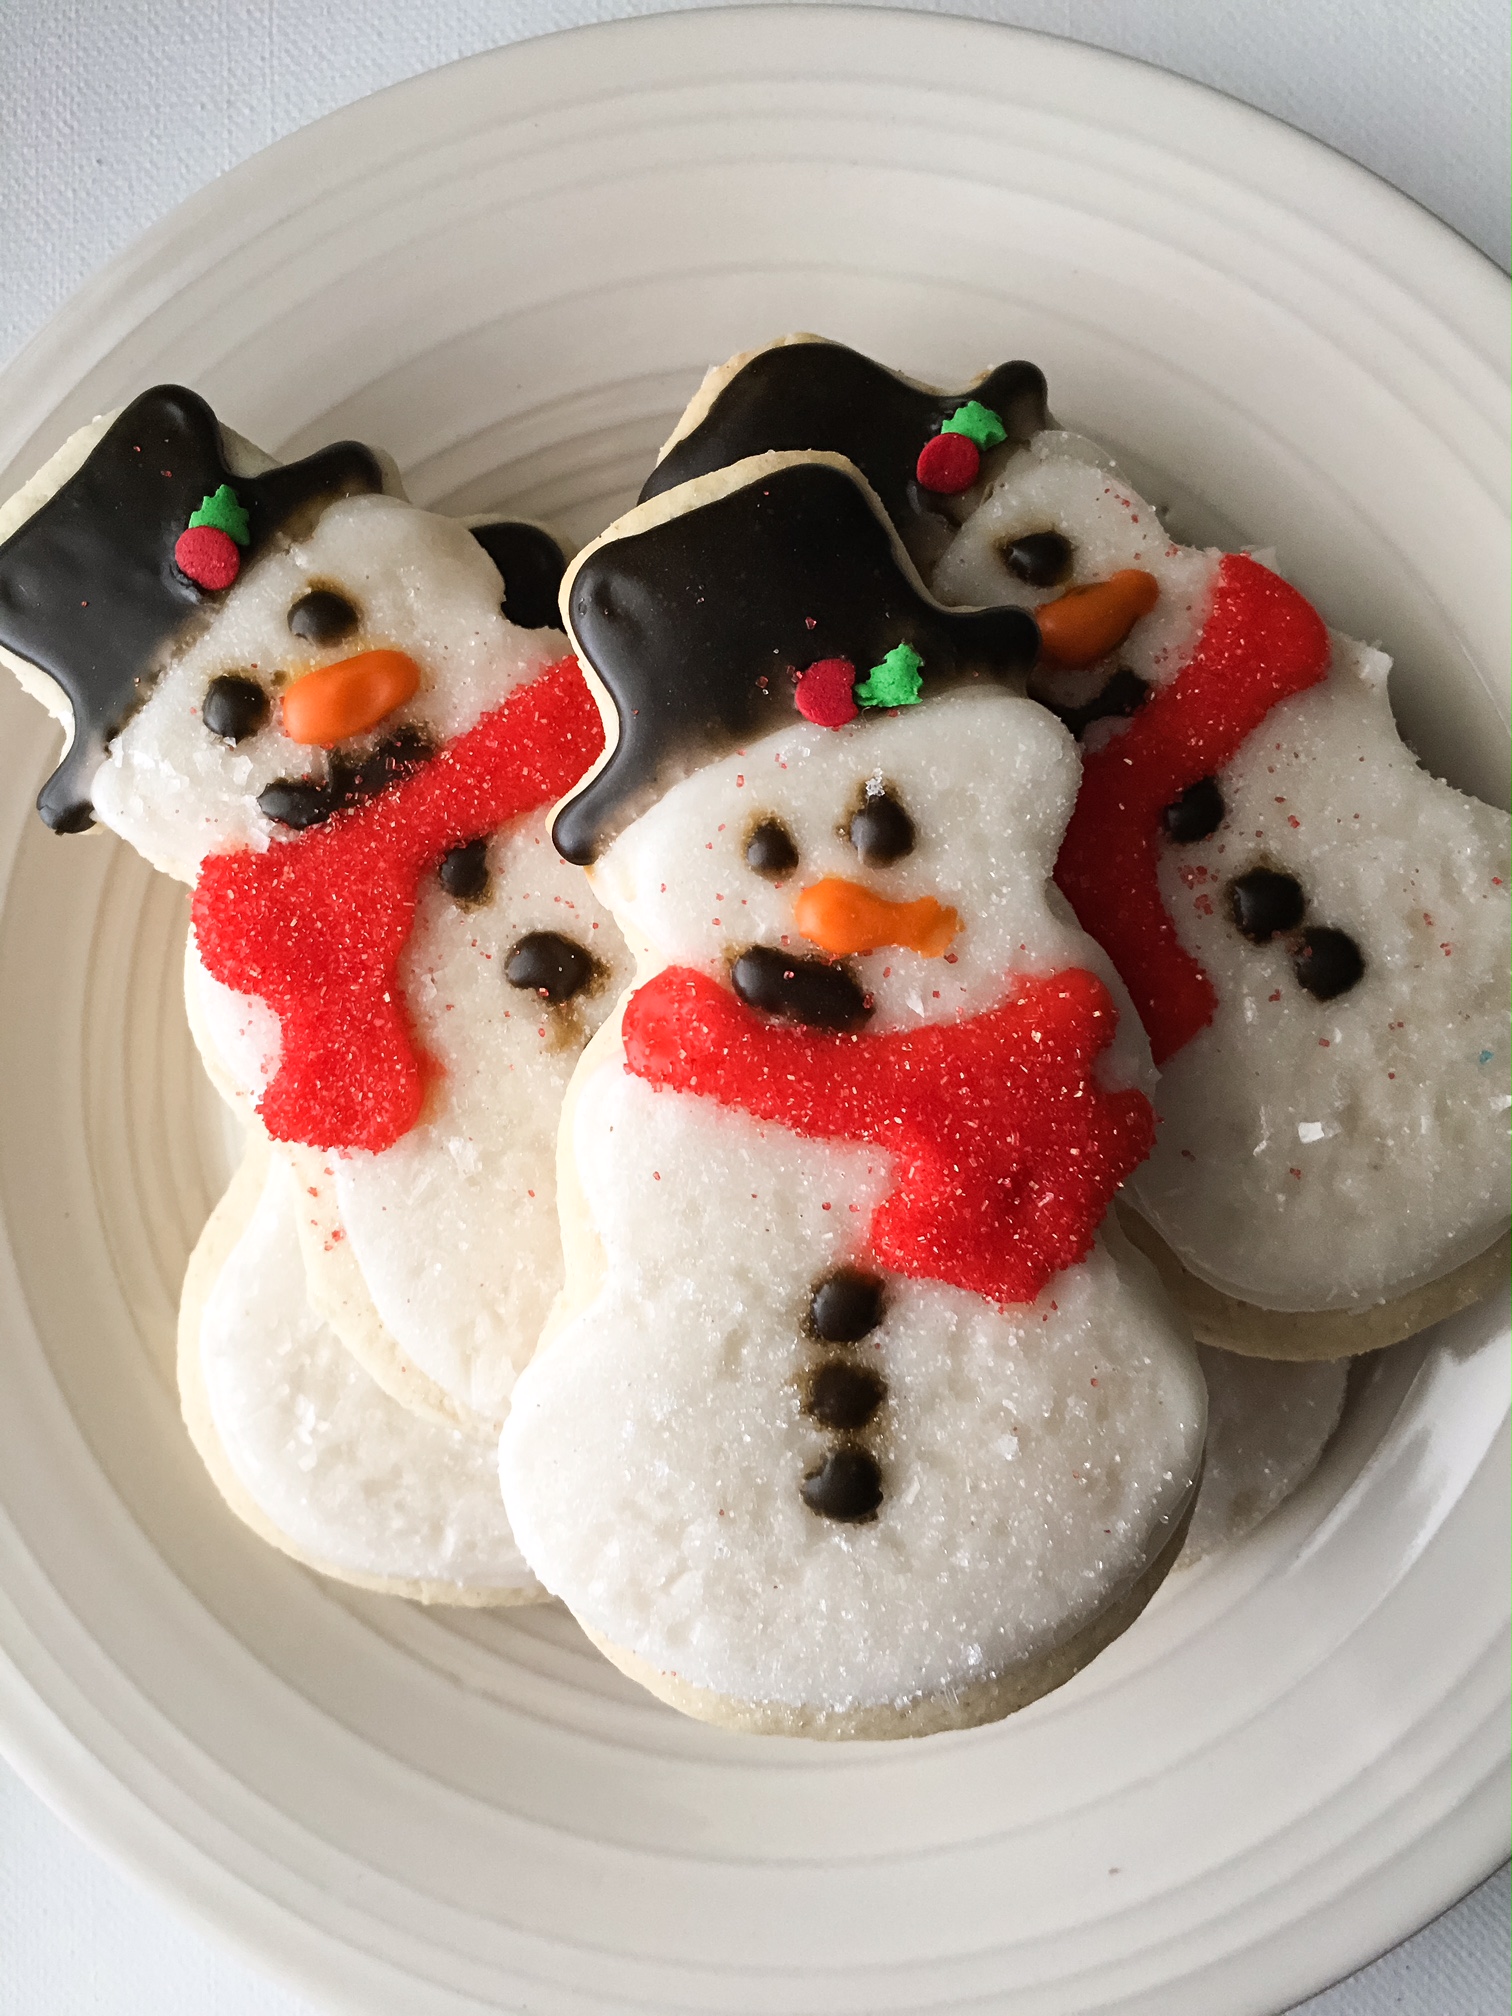
If I learned anything this weekend it is definitely to plan ahead when making an iced cut out cookie. There is so much time in drying each layer. A few times I tried to rush and my icing would just melt into another color. Do one batch at a time. Have all your piping bags ready. Icing colored and covered with plastic wrap until you are ready to use it. It takes forever for each layer to dry, but some how they dry so fast when you need to sprinkle. So definitely have all your accents ready to go.
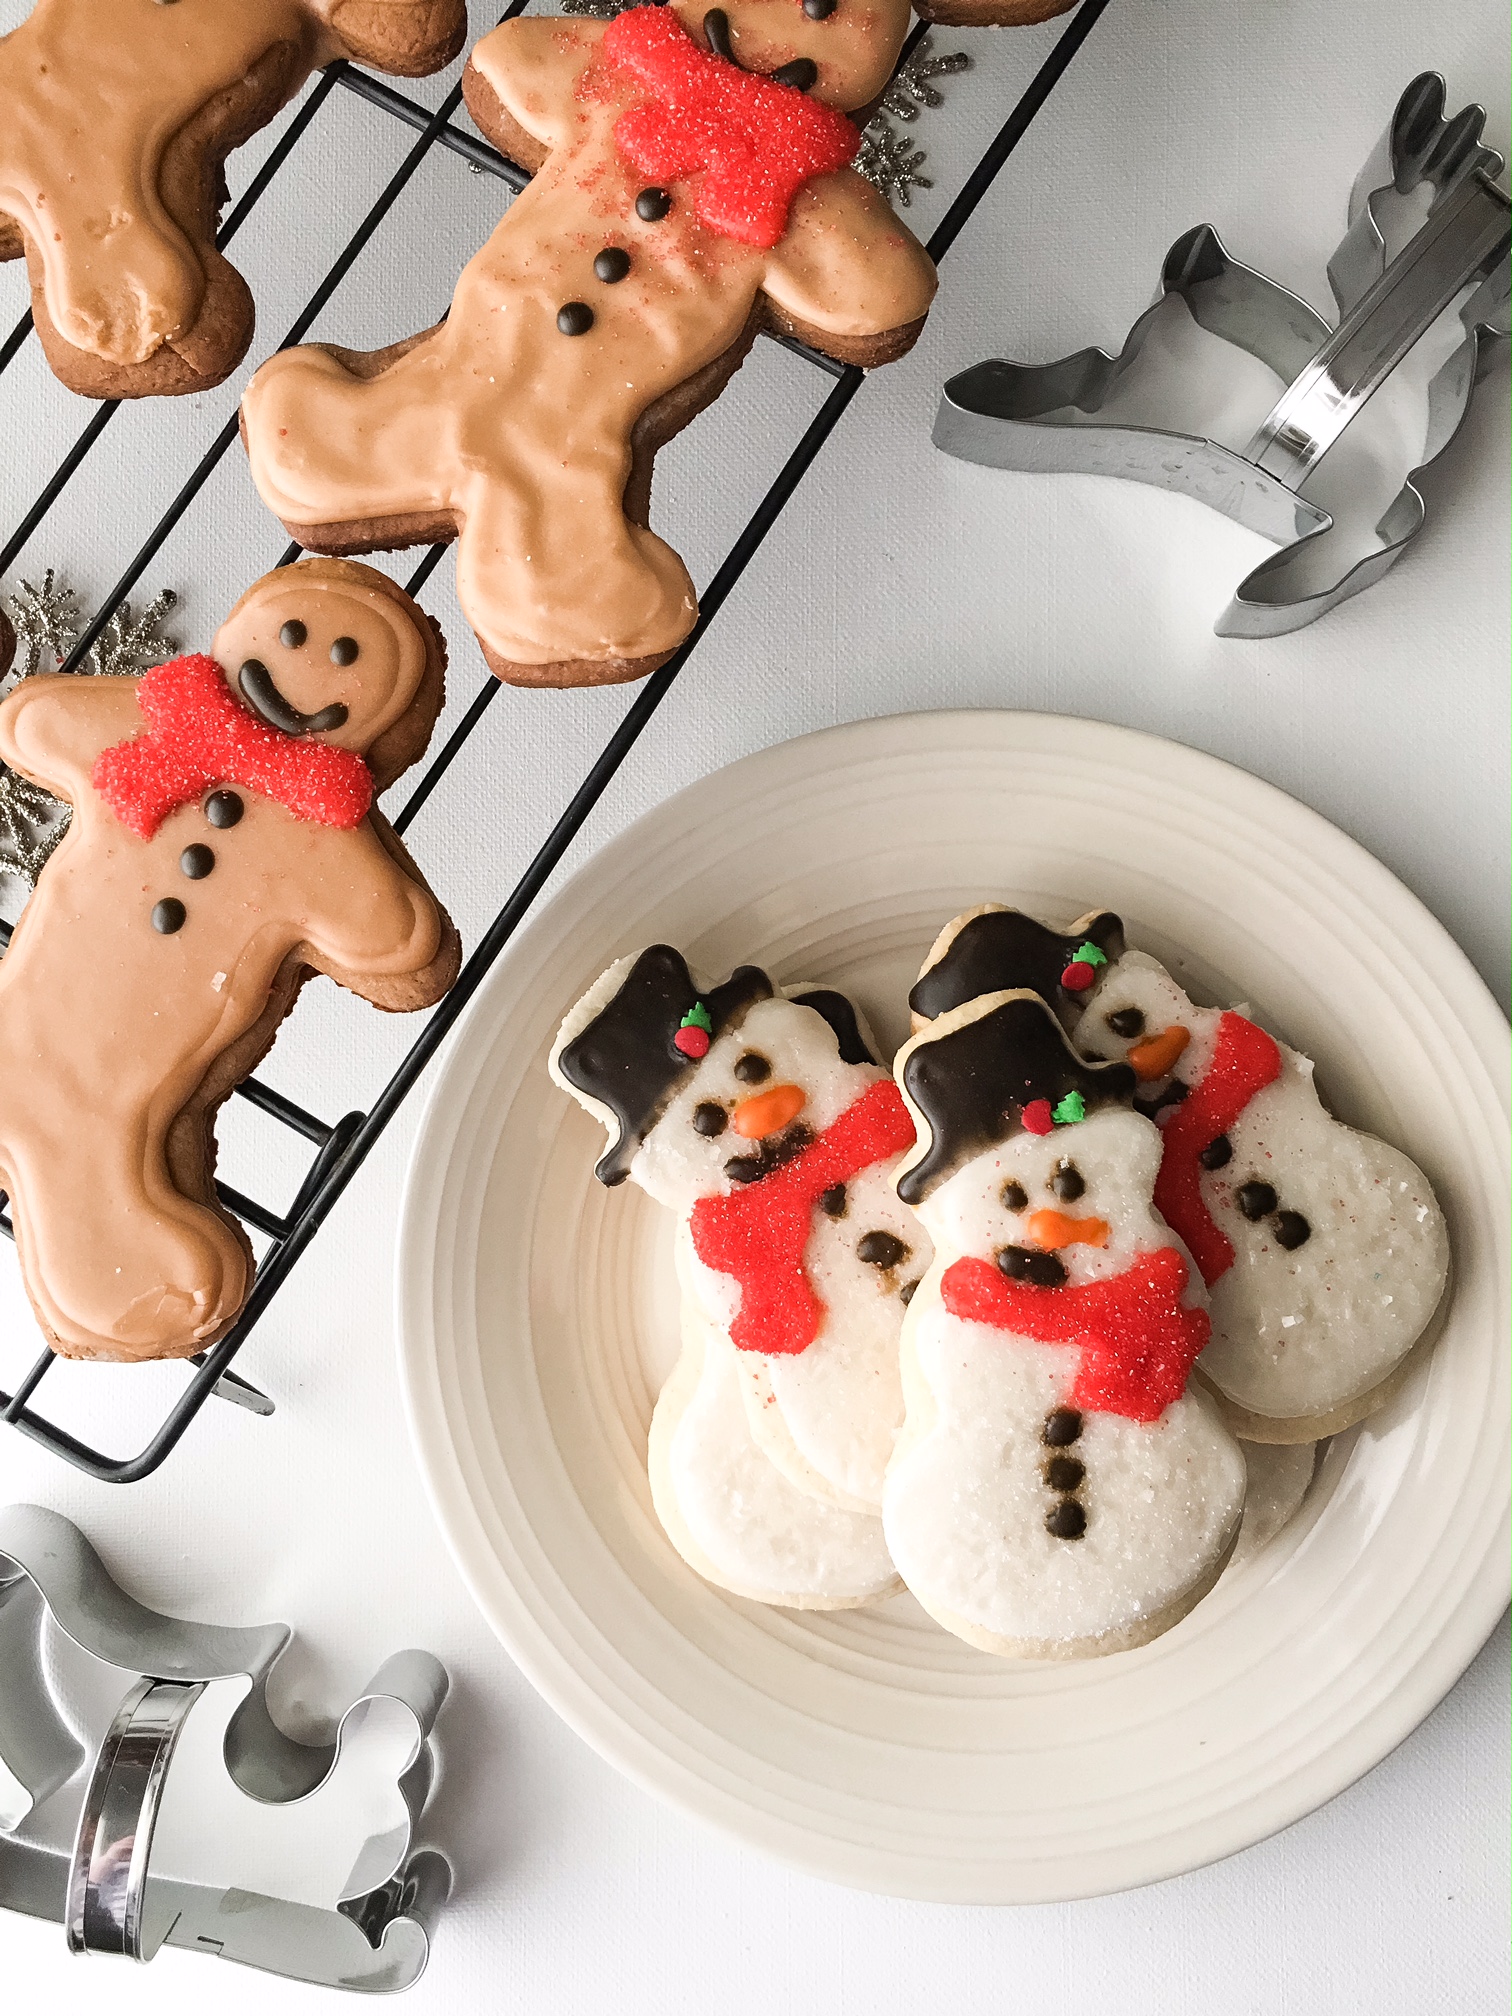
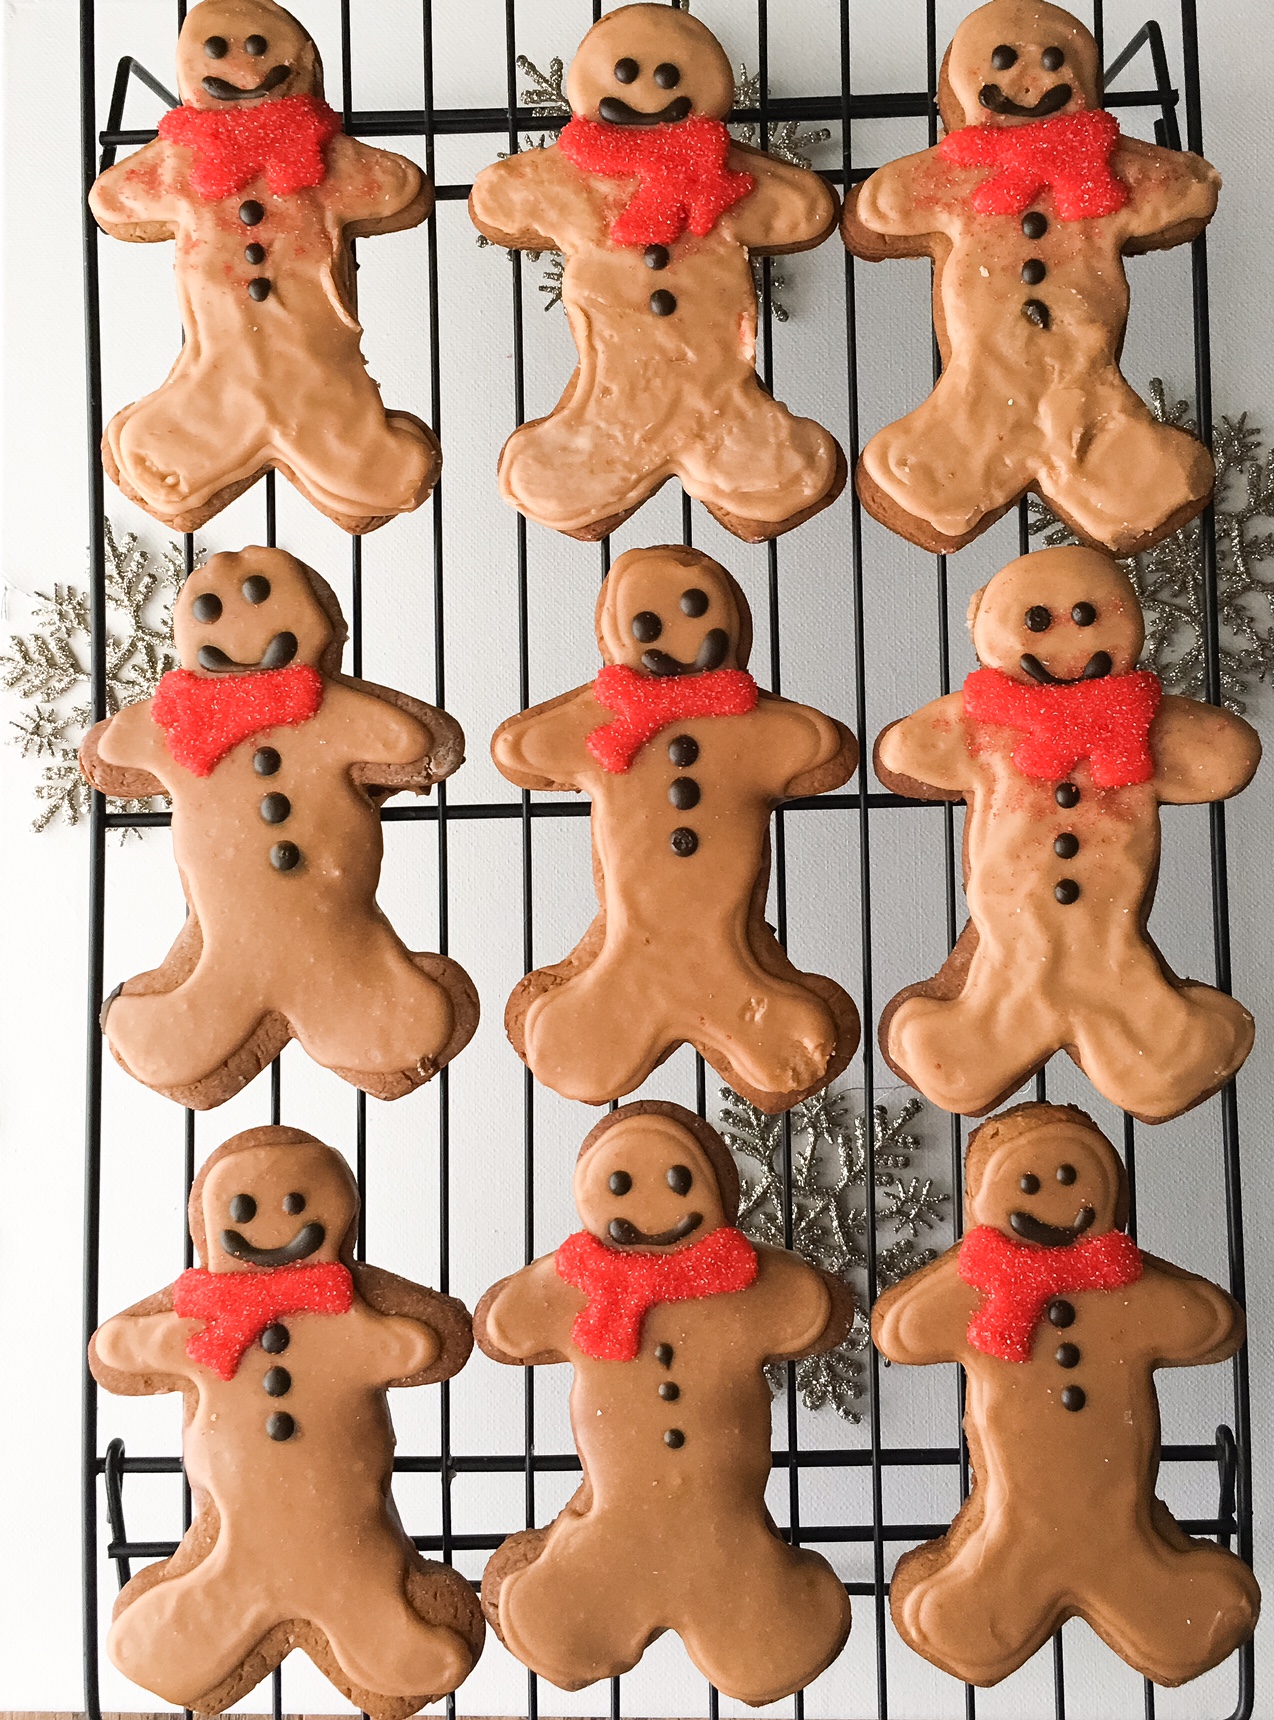
You can see with my gingerbread men there is a slight variance between some of them. I made the icing way to thick my first go and the next morning I made another batch thinning out my flood icing. The hard part is finding that perfect consistency that can make a border then still have enough liquid to very quickly fill the border. Practice and patience are huge here. At one point a was working on the very last color in my icing layers and Patrick watches me and says “hmm it looks so easy in all the videos.” That is so true. All the research I did before trying these out and that is definitely what I took away from it all – it is not easy. Once I got the hang of it I really was on the finally touches. The little red scarves. I had the perfect consistency on that red and the red sugar held it together so nicely.

Patrick and I did go to a friend’s birthday party while all my little cookies were drying. We had a great time and it was really nice to have a reason to dress up a little. By the time we got back all my cookies were dry and ready to be packed away.
- 3 cups of powdered sugar, with more for thickening up
- 2 egg whites
- 1/2 tsp of cream of tartar
- 3 tbsp of cream
- clear vanilla flavor
- food coloring
- sprinkles (optional)
- Create a double boiler by boiling water in a small pot.
- Top with a mixing bowl that rests just on top of the pot.
- Add the egg whites, vanilla, and 2 cups of sugar to the bowl.
- Whisk very quickly until the mix is hot to the touch.
- To be EXTRA safe you can heat to 150 degrees, but I just eye balled mine.
- Pull off the heat and add 1 tbsp of cream.
- Whisk quickly.
- You should be able to cut with a butter knife and it takes 10-15 seconds to seal back over.
- Use the cream and sugar to thicken and loose the mix.
- Add your food color. ( I prefer gel)
- Use separate bowls for individual colors and keep the main mix to the side in case you need a thickener.
- I used Wilton tips 3 and 4.
- Make sure you leave at least 15 minutes dry time between ever color. Best to let cookies dry on the counter over night once complete.
- The icing will keep a lot of moisture in the cookie itself.
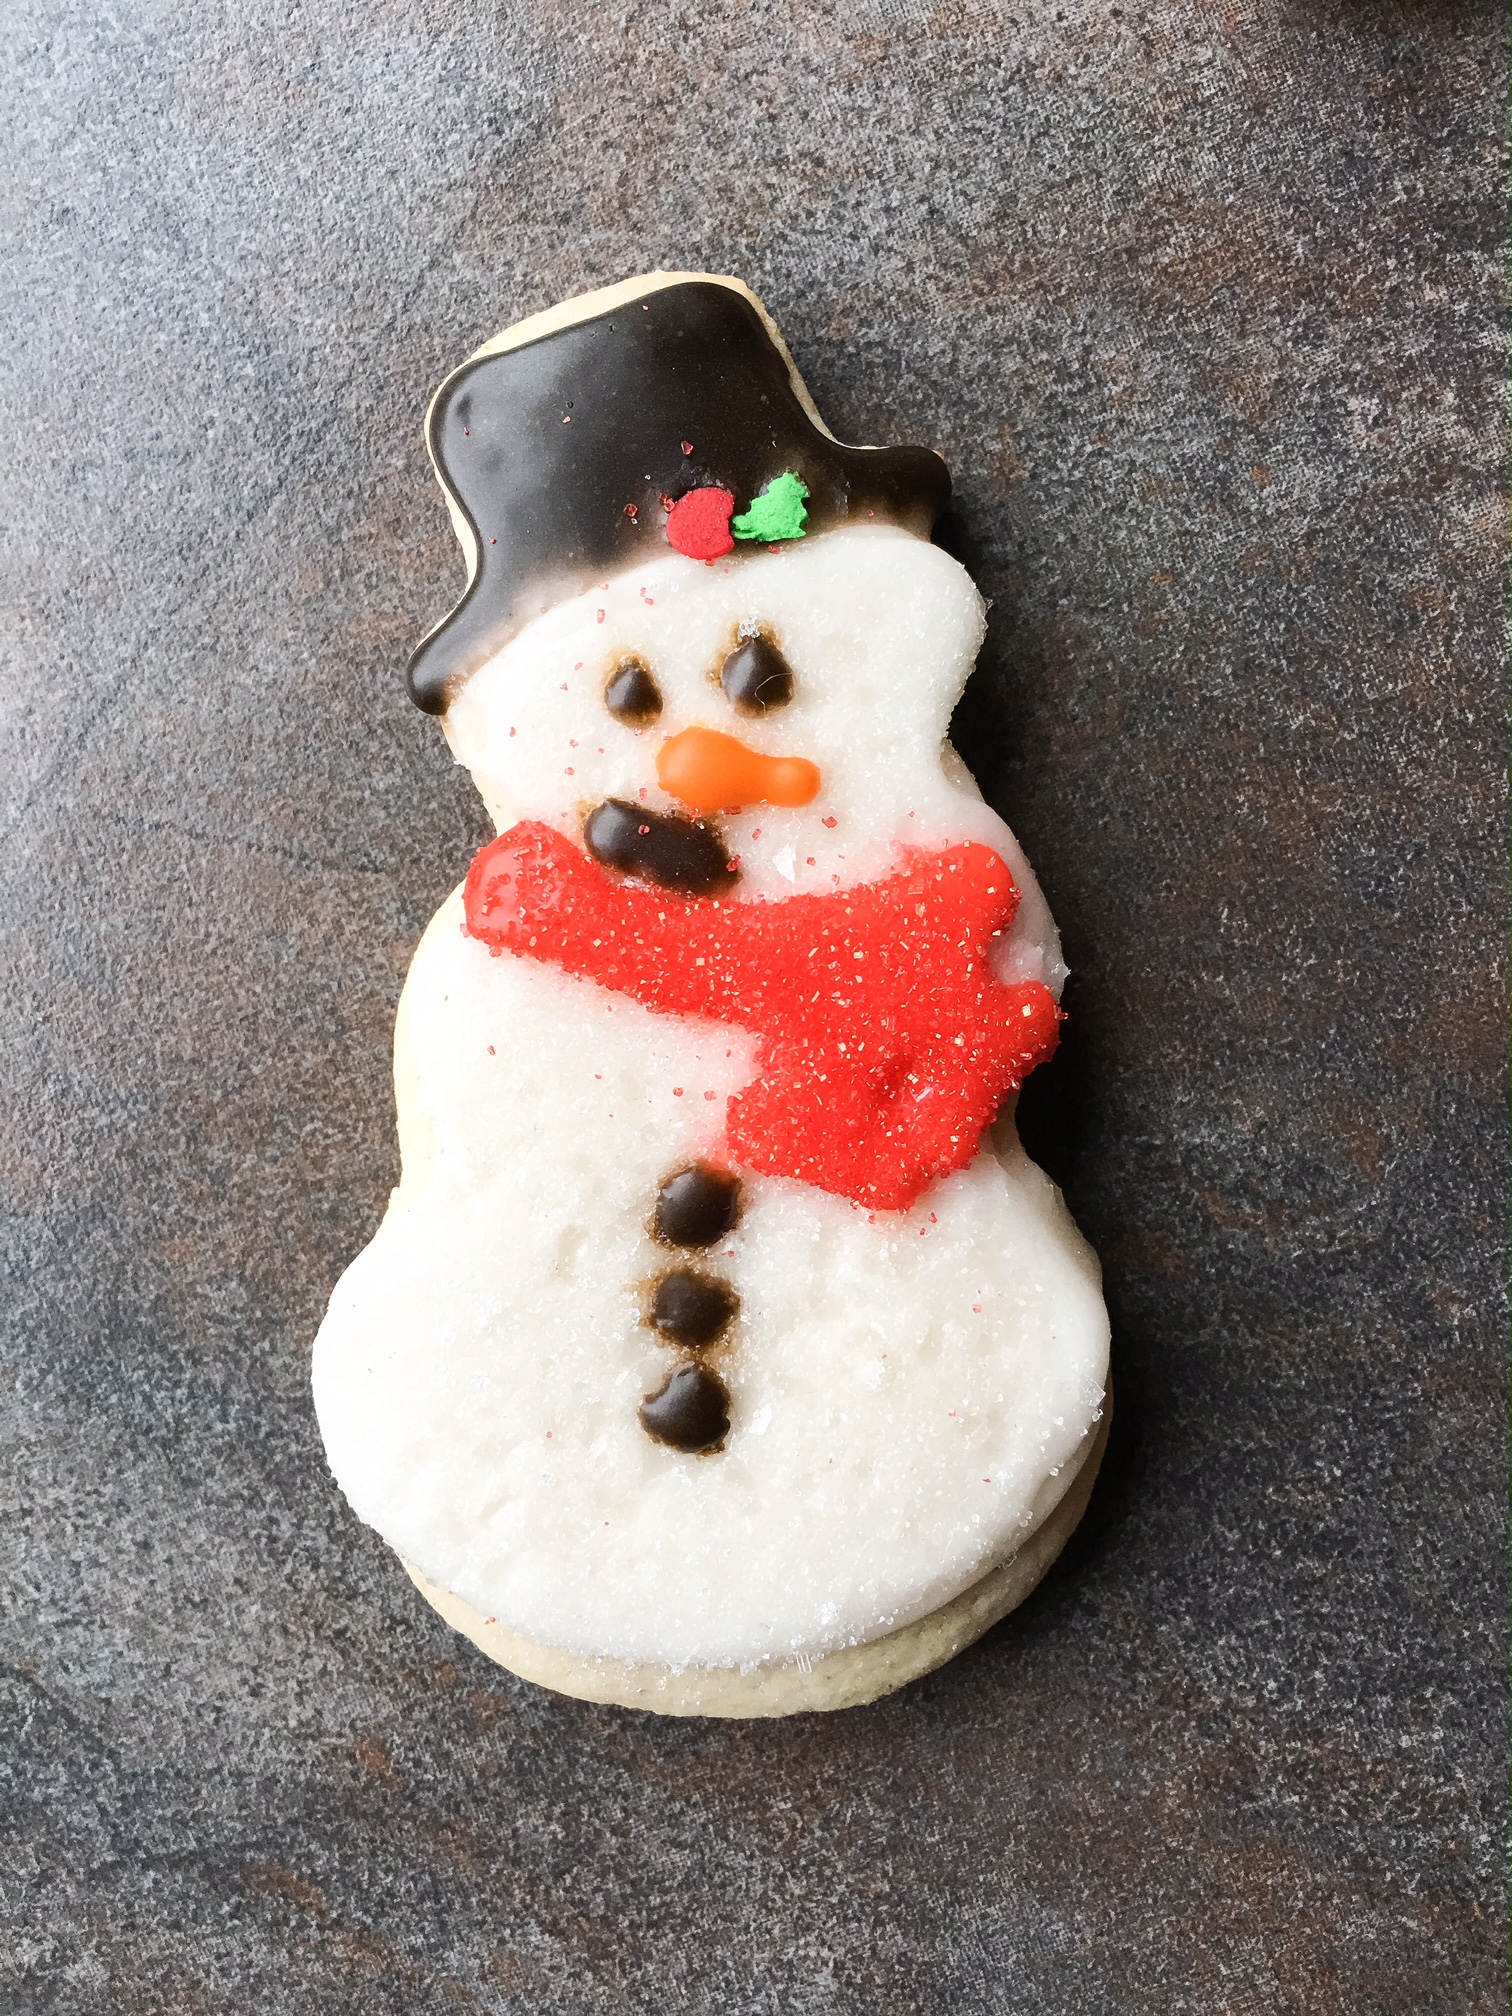
Get creative with your designs! I found so many ideas on Pinterest and tons of inspiration at the craft store. Happy Holidays!

